Overview
The Security settings help you control exactly where your chatbot can be used. You can allow specific domains, block unwanted websites, and ensure your chatbot only appears in trusted environments. This prevents unauthorized embedding and protects your chatbot from misuse.Accessing Security Settings
Open Security Settings
- Log in to your dashboard
- Go to Settings
- Select Chatbot Settings
- Click on Security
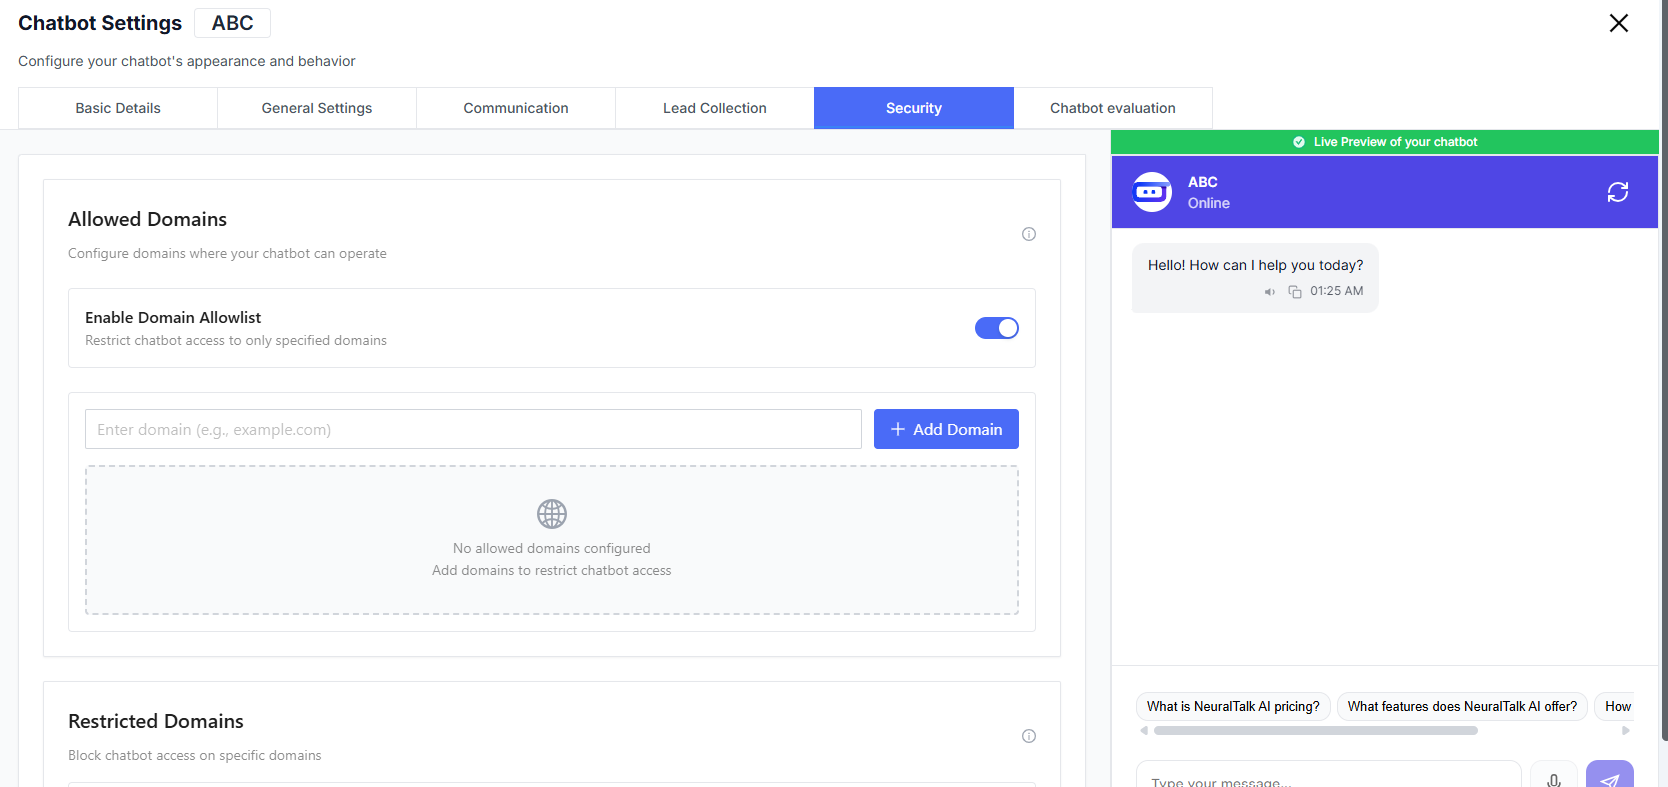
Allowed Domains (Allowlist)
Use the allowlist to specify where your chatbot is permitted to run.Enable Domain Allowlist
Restrict to Safe Domains
The chatbot will only work on domains you explicitly approve.
Add Domain
Add domains where the chatbot should be active.
Restricted Domains (Blocklist)
Block your chatbot from appearing on specific websites even if it is embedded.Enable Domain Blocklist
Block Unwanted Domains
Prevent the chatbot from loading on specific domains.
Block Domain
Add domains to restrict chatbot access.
No restricted domains configured
The chatbot won’t automatically block any sites.
When to Use Each Option
Use Allowlist When
Use Allowlist When
- You only want the chatbot available on your owned domains
- You’re concerned about unauthorized embedding
- Security and control are top priorities
Use Blocklist When
Use Blocklist When
- Your chatbot is broadly embedded, but some domains must be blocked
- You want flexibility without strict restrictions
Best Practices
- Prefer allowlists for maximum control and security
- Review domain lists regularly
- Add staging/test domains during development
- Remove unused or outdated domains to avoid confusion