Prerequisites
Before you begin, make sure you have:- A NeuralTalk account (Sign up here)
- Your business information and content ready for training
- A website or platform where you want to deploy your assistant
Step 1: Create Your Account
- Visit neuraltalk.ai
- Click “Sign Up” and create your account
- Verify your email address
- Complete your profile setup
You can start with our free plan, which includes 1,000 conversations per month and basic features.
It also comes with 1M training characters.
Step 2: Create Your First Assistant
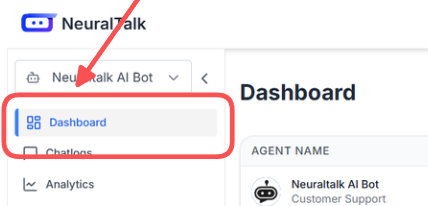
- Navigate to the Dashboard
- Once logged in, you’ll see the main dashboard
- Click “Create New Assistant” to begin
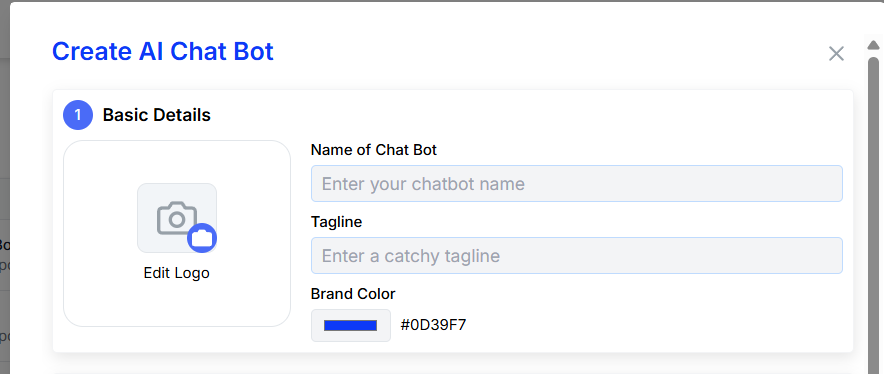
- Basic Information
- Assistant Name: Choose a name that represents your business (e.g., “Acme Support Bot”)
- Description: Briefly describe what your assistant will help with
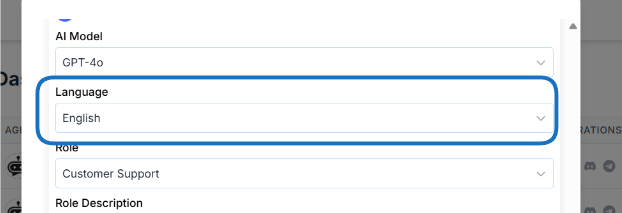
- Language: Select the primary language for your assistant
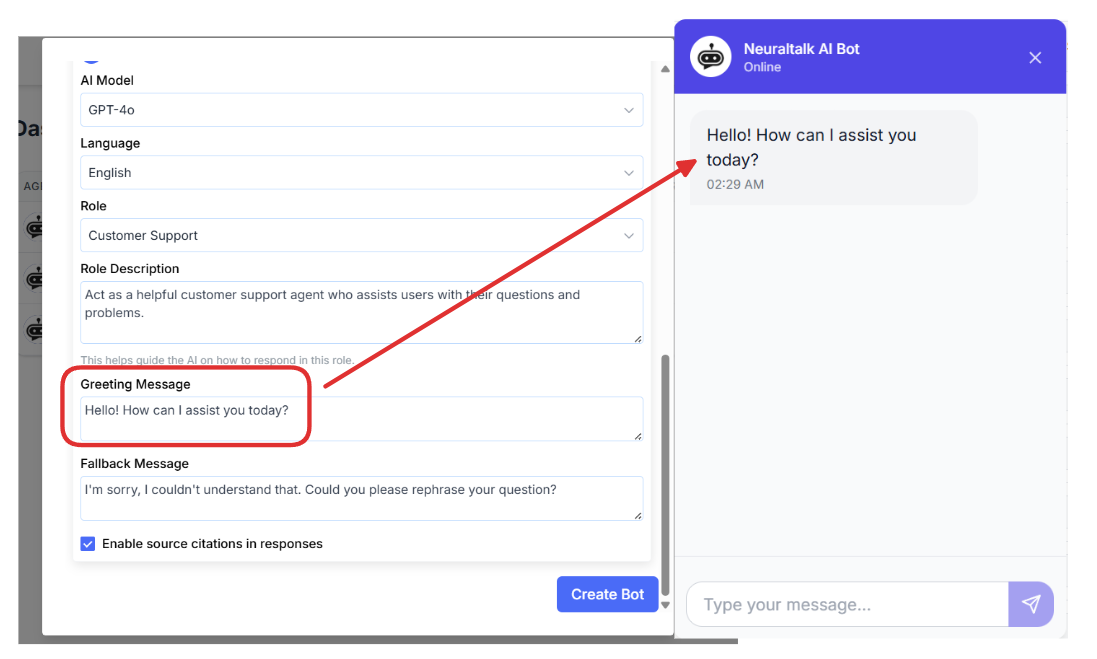
- Personality & Behavior
- Tone: Choose between Professional, Friendly, or Casual
- Response Style: Select how detailed you want responses to be
- Greeting Message: Customize the first message users will see
Pro Tip
Keep your assistant’s personality consistent with your brand voice. This helps create a cohesive customer experience.
Step 3: Train Your Assistant
Training is crucial for creating an effective AI assistant. Here’s how to do it: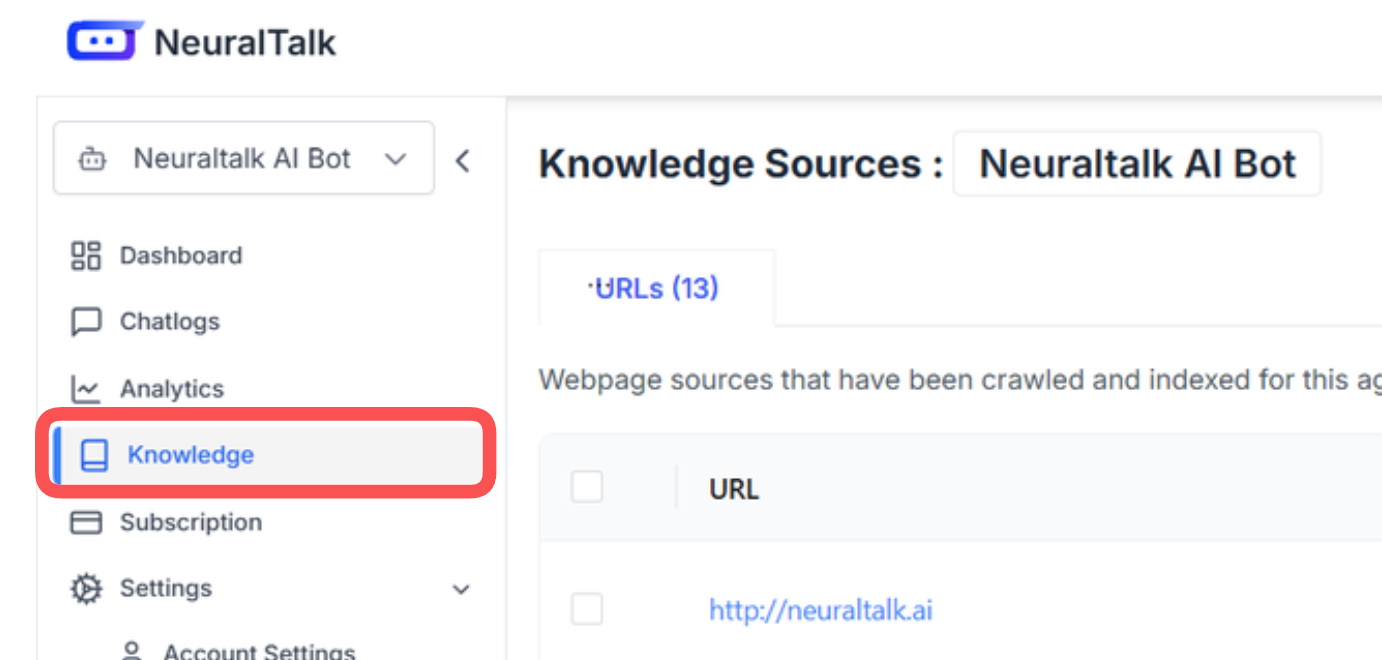
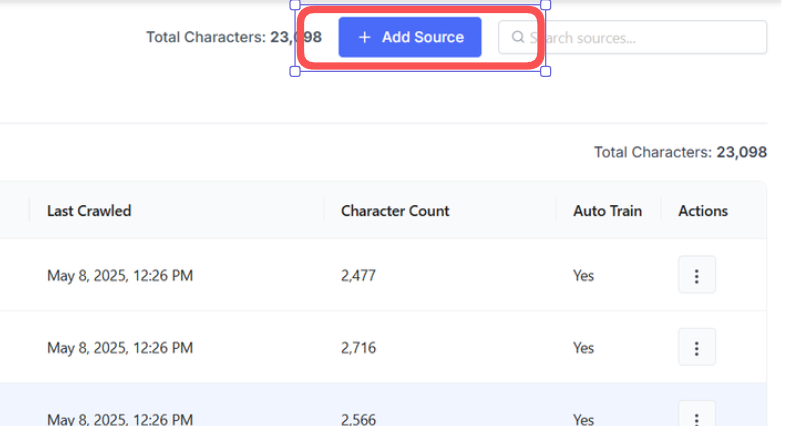
Upload Your Knowledge Base
- Navigate to Training
- Go to the “Knowledge Base” section in your assistant settings
- Click “Add Content” to upload your documents
-
Supported File Types
- PDF documents
- Word documents (.docx)
- Text files (.txt)
- CSV files
- Web pages (via URL)
-
Manual Content Entry
- Add frequently asked questions
- Include product information
- Add company policies and procedures
- Include contact information and hours
Content Best Practices
Organize Your Content
Organize Your Content
Structure your content logically with clear headings and sections. This helps the AI understand context better.
Include Examples
Include Examples
Provide specific examples of questions and answers. This helps the AI learn your preferred response style.
Keep It Current
Keep It Current
Regularly update your knowledge base with new information, product updates, and policy changes.
Test and Refine
Test and Refine
Review conversations and add content based on questions your assistant couldn’t answer well.
Step 4: Customize Appearance
Make your assistant match your brand:-
Visual Styling
- Choose colors that match your brand
- Upload your logo
- Select a chat widget style
-
Conversation Settings
- Set response length preferences
- Configure fallback messages
- Set up human handover triggers
-
Advanced Features
- Enable typing indicators
- Add suggested responses
- Configure conversation starters
Step 5: Deploy Your Assistant
Website Integration
-
Get Your Code
- Go to the “Deploy” section
- Copy the provided JavaScript code snippet
-
Add to Your Website
- Paste the code before the closing
</body>tag - Save and publish your website
- Paste the code before the closing
-
Test the Integration
- Visit your website
- Look for the chat widget
- Test a conversation
Other Platforms
Connect to WhatsApp Business API for customer support
Slack
Deploy in your Slack workspace for team support
Discord
Add to your Discord server for community support
Custom API
Build custom integrations with our API
Step 6: Monitor and Optimize
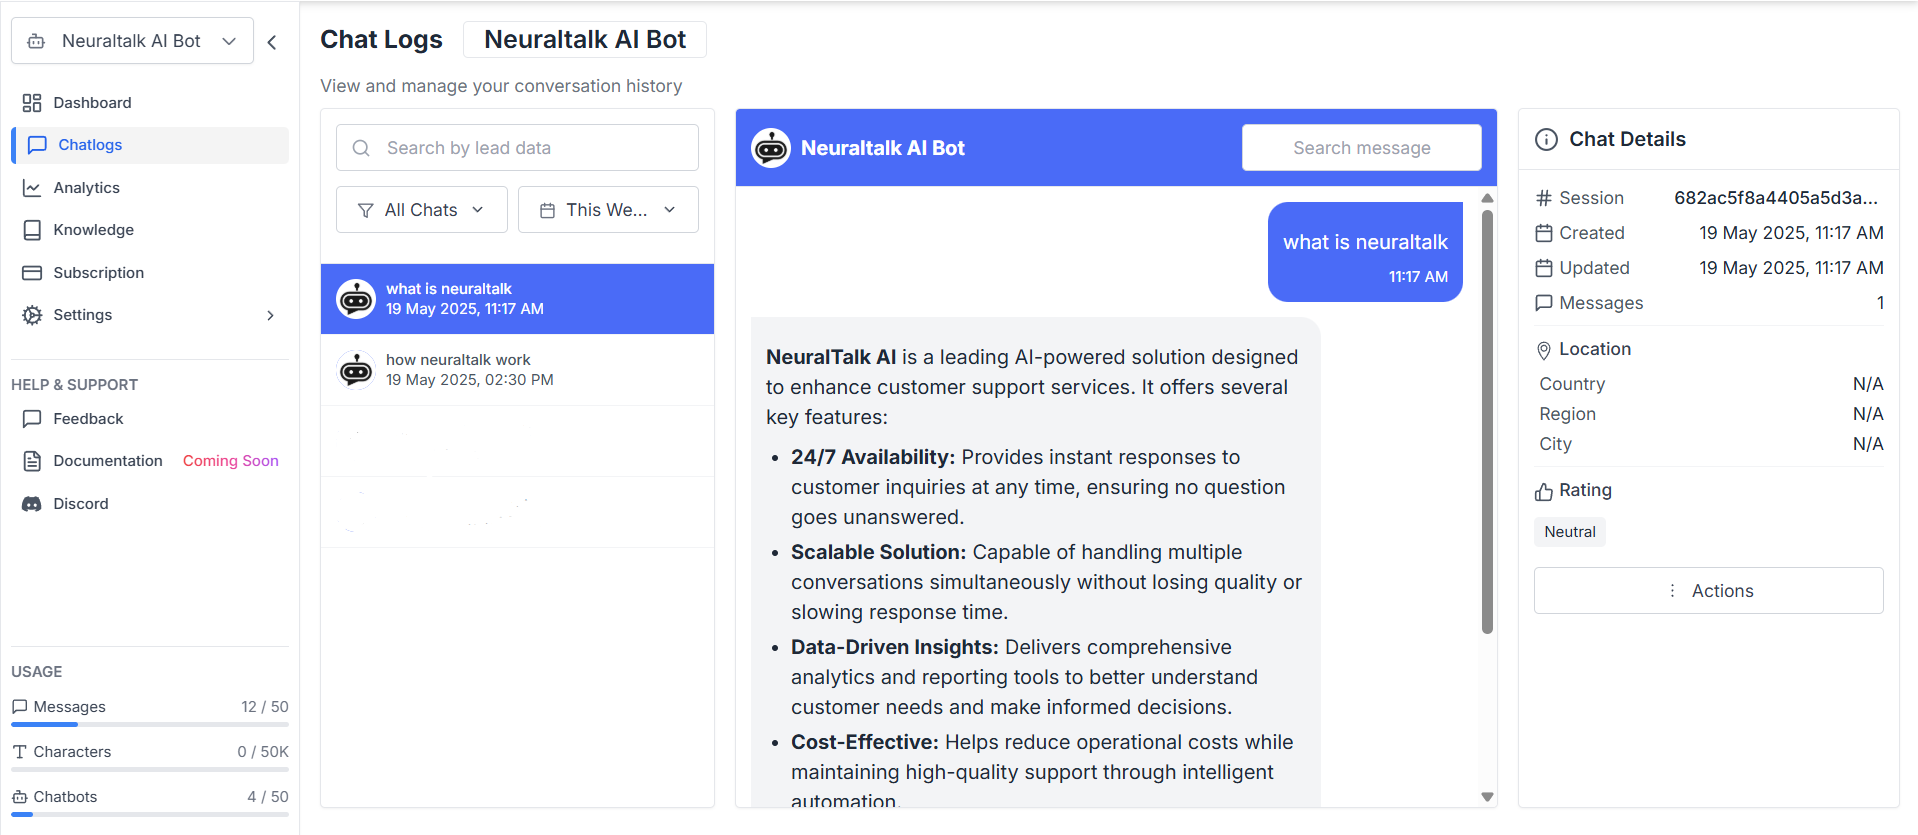
Review Conversations
-
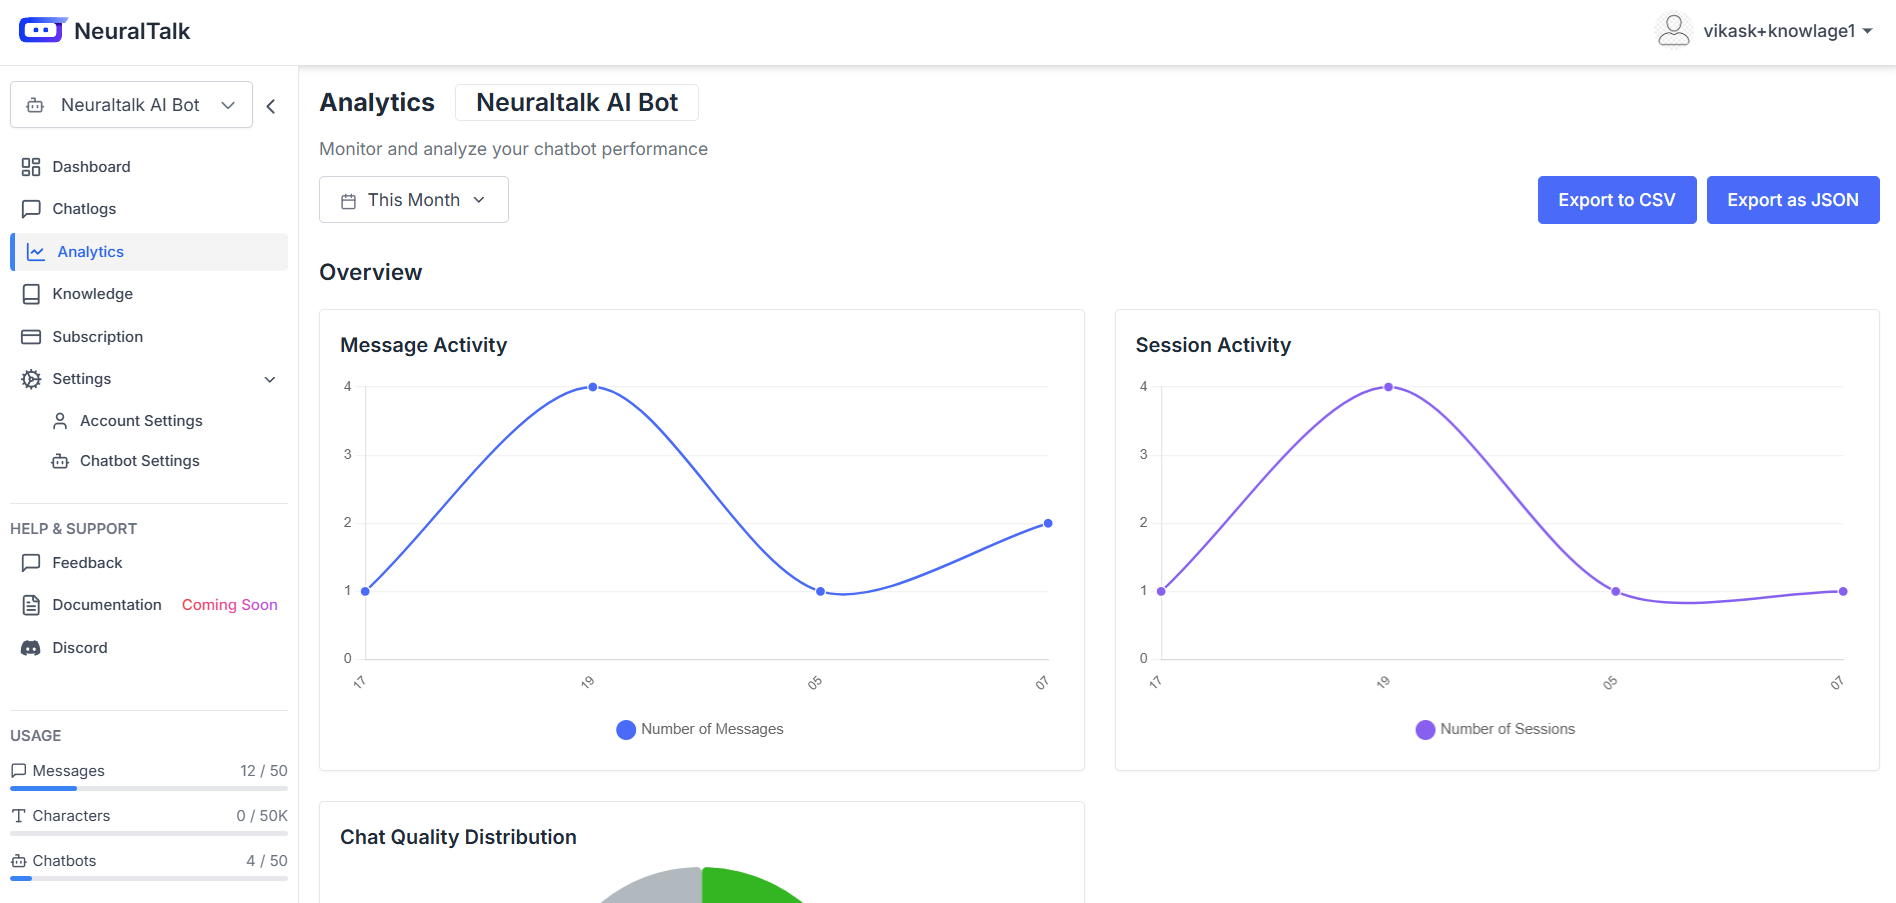
Check the Analytics Dashboard
- View conversation metrics
- Identify common questions
- Monitor user satisfaction
-
Improve Responses
- Add content for unanswered questions
- Refine existing answers
- Update outdated information
-
Test Regularly
- Try different question phrasings
- Test edge cases
- Verify accuracy of responses
Next Steps
Congratulations! You’ve successfully created your first AI assistant. Here’s what to do next:Advanced Setup
Learn about advanced features like tools and workflows
Styling Guide
Customize your assistant’s appearance and behavior
Integration Guides
Connect to more platforms and services
API Documentation
Build custom integrations with our API
Need Help?
If you run into any issues or have questions:- Documentation: Browse our comprehensive guides
- Support: Contact us at support@neuraltalk.ai
- Community: Join our Discord community
- Video Tutorials: Check out our tutorial videos
Pro Tip: Start simple and gradually add more features as you become comfortable with the platform. You can always enhance your assistant later!